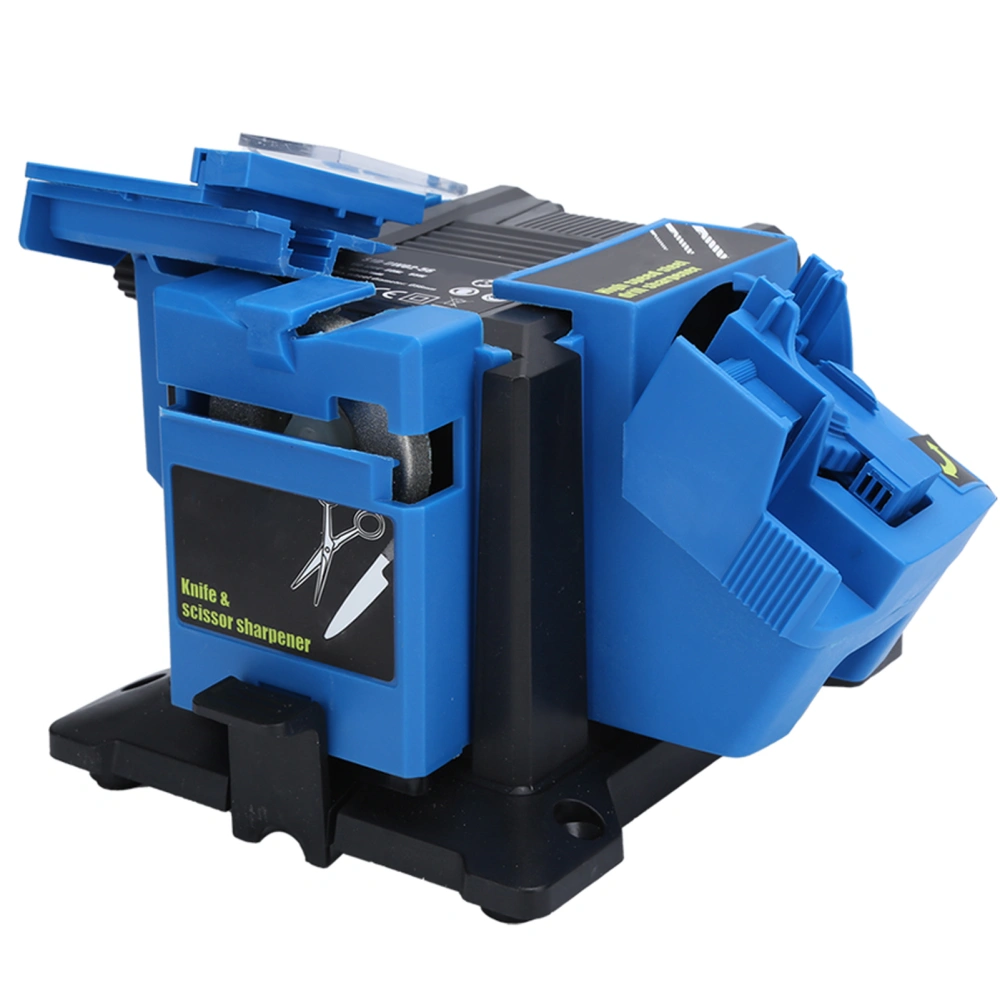
Specification:
Item Type: Electric Knife Sharpener
Material: Plastic + Electronic Components
Product Size: Approx. 17 x 14 x 12cm/6.7 x 5.5 x 4.7in
Input Voltage: US Plug 110V
Rated Power: 65W
Rated No-Load Speed: 6500/min
Maximum Grinding Wheel Diameter: Approx. 56mm/2.2in
Grinding Drill Diameter: Approx. 3~13mm/0.12~0.51in
Grinding Chisel and Flat Blade Width: Approx. 6~51mm/0.24~2.01in
Protection Level: 2 Levels
Rated Working Time: Intermittent Operation (30%)
How to Use:
This multifunctional grinding machine includes three working modes:
- High-speed steel drill bit mode (hereinafter referred to as drill bit), used to grind all 3mm-13mm high-speed steel drill bits;
- Straight blade knife and scissors mode, used to sharpen all straight blade knives and scissors;
-
Chisel and plane knife (or woodworking knife) mode, this mode can grind the planer to 51mm wide.
-
Switch (see Figure A)
caveat:
Before using the multifunctional electric grinder, it needs to be fixed.
Push the switch to 1 to turn on the switch. Push the switch to 0 to turn off the switch.
-
Grinding high-speed steel drill bits
caveat:
Before assembling the drill grinding parts (2), make sure the machine is powered off, and make sure that the switch is in the off state, that is, the switch (11) at the 0 position.
1) Start the drill grinding mode (see B1, B2)
2) Remove the drill clamping device from the rotating support of the drill grinding part, insert the drill to be ground into the V-shaped grooves of the device, rotate the ballast nut on the V-shaped grooves clockwise, and tighten it lightly. Make the drill bit still movable. (See C1, C2)
3) Place the drill bit clamp in the setting slot (6) on the right side of the rotating bracket, and adjust the drill bit clamp through the setting slot. (See D1, D2)
4) Push the drill bit forward into the V-shaped grooves of the angle positioning block at the front end of the grooves until it touches the metal positioning piece at the bottom of the grooves (See E)
5) Rotate the drill bit until it reaches the four corners of the drill bit and both sides of the V-shaped grooves should be touched. (See E)
6) Make sure that the drill bit and the angle positioning block are placed at the bottom of the setting grooves, and then turn the lock nut clockwise to fix the drill bit tightly. (See E)
7) Move the angle positioning block back and take out the drill clamp. (See F)
8) Place the drill bit in the middle grooves of the rotating support of the grinding part. (See G)
9) Turn on the power supply (see A)
10) As shown by the arrow marked on the rotating bracket, use your fingers to gently move the rotating bracket. (See H)
11) Pull out the drill holder, turn it over, repeat step 10, and grind the other side. (See I)
12) Check the two angles of the drill bit to ensure that they are equally acute, and both ends should be in the middle position, as shown, instead of J2.
13) Turn off the power, make sure that the grinding wheel has stopped rotating, and then remove the parts of the drill bit
- When grinding a drill with a diameter of 3.5mm to 13mm (excluding 3.5mm) (see J3), make the parallel surface of the locking block on the V-shaped grooves face the drill.
- When grinding a drill with a diameter of 3 mm to 3.5 mm (including 3.5 mm) (see J4), loosen the lock nut and turn the lock block so that the middle convex surface faces the drill
-
Make sure that the length of the drill bit is more than 70mm.
-
Sharpen the knife
caveat! Before assembling the straight blade knife and scissors grinding parts (8), make sure that the machine is powered off and the switch is in the off state, that is, the switch is at the 0" position.
Note: This mode of operation is only suitable for sharpening acute-edged knives.
1) Start knife and scissors grinding mode
2) Turn on the power
3) Tighten the handle and insert one side of the blade into the guide grooves. (See K)
4) When the blade touches the grinding wheel, gently move the blade back and forth, being careful not to use excessive force
5) Insert the other side of the blade into the guide slot, and repeat step 4. (See L)
6) If necessary, repeat this operation until the blade is clean and acute.
7) Turn off the power. Make sure the grinding wheel has stopped rotating, and then remove the grinding assembly
-
Sharpen scissors
caveat! Before assembling the straight-blade knife and scissor close-cutting parts (8), make sure that the machine is powered off and the switch is in the off state, that is, the switch is at the 0" position.
Note: This mode of operation is used for the grinding of all household scissors, but not for serrated knives.
1) Start knife and scissors grinding mode
2) Turn on the power
3) Fully open the scissors
4) Put one of the blade faces of the scissors into the sharpening bucket, and place the pivot point and the other blade face of the scissors in your right hand. (See M)
5) Pull the knife face of the scissors from the fulcrum to the tip of the knife back and forth in the grinding wheel, and apply a slight force.
6) Turn over the scissors, repeat steps 4 and 5, and start to sharpen another knife surface. (See Figure N)
7) If necessary, repeat this operation until the knife surface is clean and acute
8) Turn off the power, make sure the grinding wheel has stopped rotating, and then remove the abrasive component
-
Chisel and flat knives (or woodworking knives)
caveat:
Before assembling the chisel and flat knife grinding parts (12), make sure that the machine is powered off, and make sure that the switch is in the off state, that is, the switch is in the O position.
1) Start chisel and flat knife grinding mode
2) Place the flat knife on the moving plate with magnetic metal strip, with the back of the knife facing up, (see 0)
3) The sharpening angle must match the existing bevel angle of the blade. If it is inconsistent, it can be adjusted.
4) Change the angle
- Loosen the angle adjustment knob counterclockwise (15)
- Rotate the rotating bracket to change the grinding angle. The grinding angle can be adjusted between 20 and 40 as indicated by the small arrow.
- Make sure that the bevel edge of the knife edge is in contact with the grinding wheel, and then tighten the angle adjustment knob. (See P)
5) Turn on the power
6) Continuously move the moving plate on which the flat knife is placed in the grinding wheel with a stable pressure. Standing still will cause irregular grinding. (See Q)
7) Slowly adjust the blade while sharpening. (See R) Do not press the blade hard. Grind slowly and repeat this step until the blade surface is completely ground.
8) Remove the blade and make sure that the bevel edge of the blade is as acute as the tip of the blade. If it is not the same sharpness, please adjust the sharpening angle. Pay attention to make the sharpening angle consistent with the existing bevel angle of the blade, which can avoid grinding too much metal while ensuring that the blade is at the best grinding angle. (See S)
9) When thinning the chisel, place the knife on the moving plate, repeat step 6), and start to sharpen the knife as shown before. (See T)
10) Turn off the power. Make sure that the grinding wheel has stopped rotating, and then remove the grinding assembly.
11) Suggestion: After using this product to sharpen the knife, you can sharpen the knife edge on the oily sharpening stone again to increase the durability.
Product Maintenance:
This product can be wiped with a dry cloth to keep all operating parts clean.
Keep the motor ventilation holes unblocked and clean.
If you see sparks at the vent, it is normal and will not cause damage to your product.
If the product power cord is damaged, it must be replaced by the manufacturer or its after-sales organization personnel to avoid unnecessary damage.
Features:
1Made of highquality materials, safe and durable to use, strong and not easy to damage. 2It has a wide range of uses and can be used for grinding planers, drills, scissors, and knives. 3Angle adjustable design, suitable for sharpening equipment of various shapes and sizes. 4Highhardness grinding wheel, highspeed grinding, wearresistant, durable and powerful. 5Lightweight and compact, it is a good helper for home grinding and provides many conveniences for daily life.