Product information:
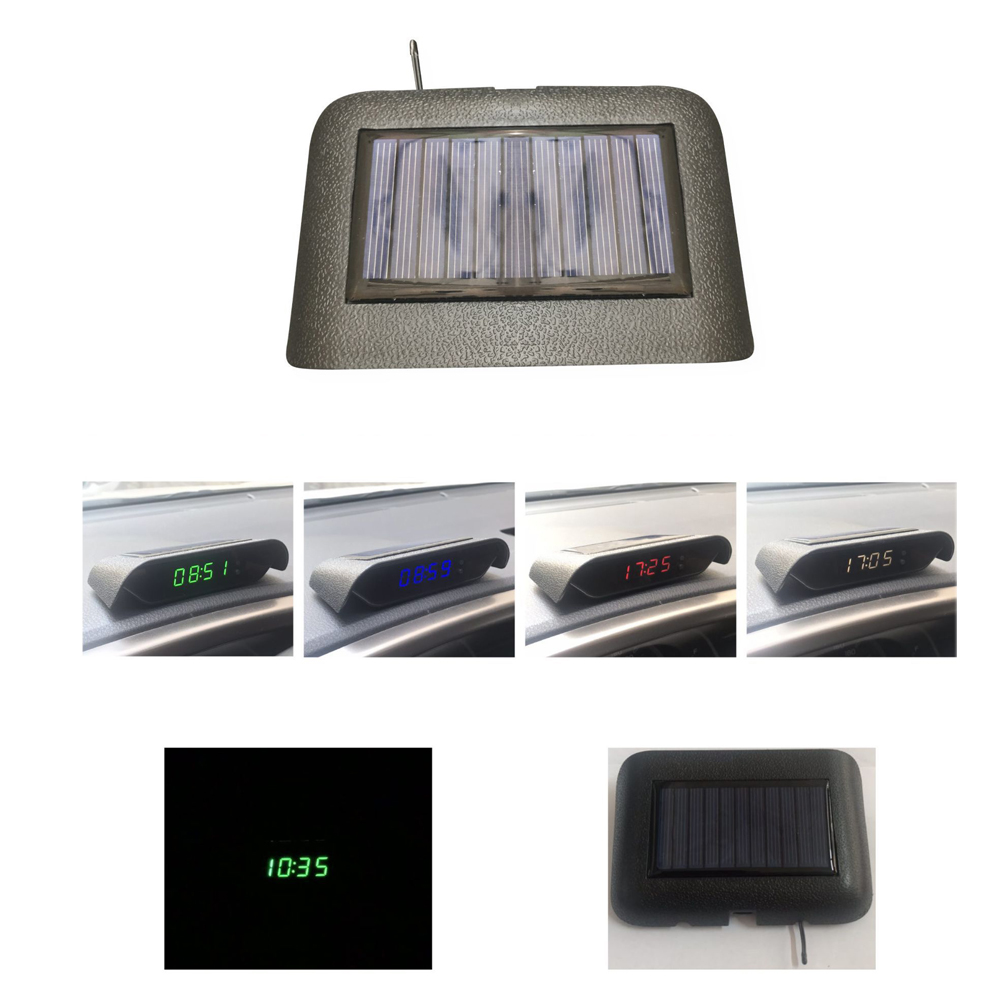
Color classification: green date time temperature red date time temperature Blue date time temperature white date time temperature
Solar electronic clock operating instructions
1. Initial activation
Because the display of this product is on, it is a vibration wake-up display. For example, after the car stops for 5 minutes, the product automatically sleeps and does not display in the static state,
When the time is still in accordance with the normal time, when the car owner gets on the bus, the vehicle has a vibration, and the product automatically vibrates and wakes up,. So, in order
To prevent the product from being shaken on the way to the customer and wake up to show that it consumes electricity, so the customer needs to use the product for the first time.
At the same time, press the up and down keys to activate the product. If the product is not activated, it will not work. After activation, the display in the future only needs to be shaken to wake up.
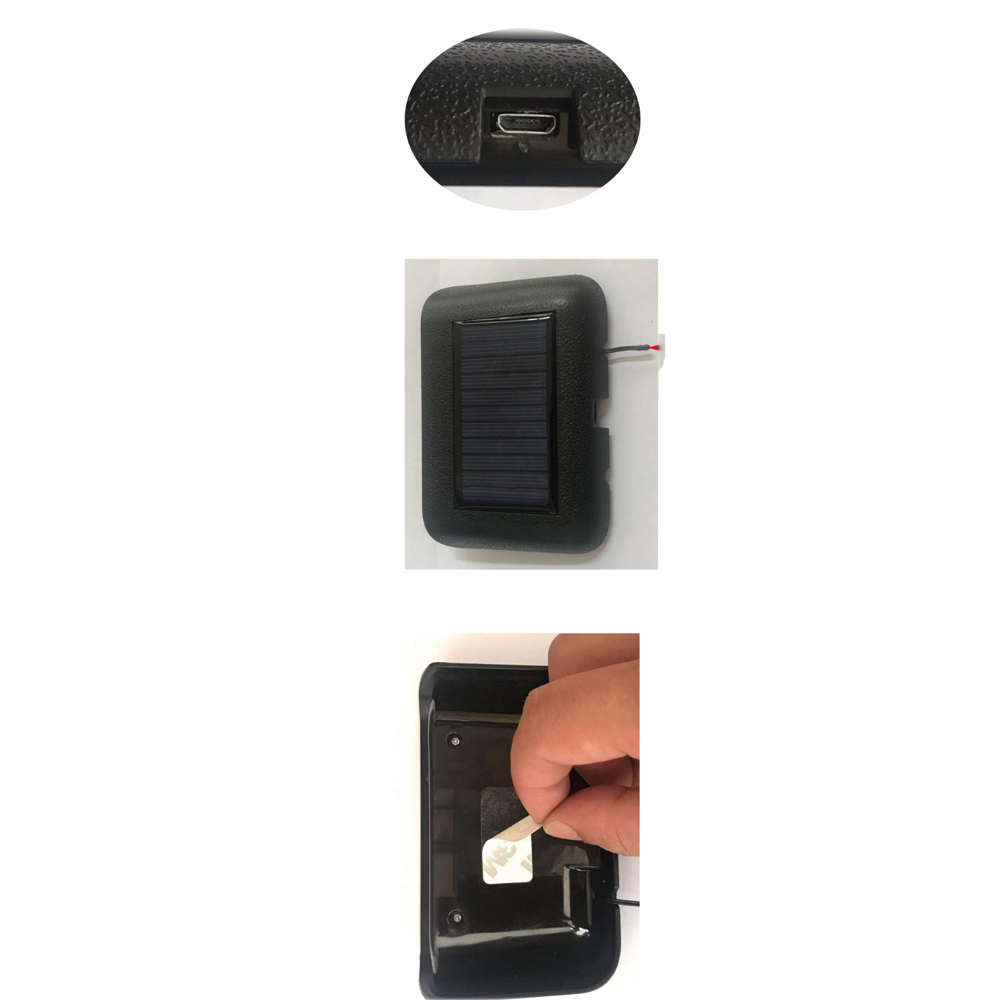
The energy of the product is mainly charged by solar energy to the storage battery of the product. If there is no solar charging for a long time (about 100 hours)
In this case, you can use the jack on the back to charge the product. The universal MicroUSB (charging cable for most Android phones) charging cable.
2. Set the time and date
Press the key for a long time and do not let go for 2 seconds. Up, enter the time setting function at electronic clock. Minute flashing, press the upper button to adjust the score. Press the key to enter the small
Press the upper button to adjust the hour. After adjusting the hour, press create to enter the date setting. The display format is x.xx, for example, on April 10
4. 10. After adjusting months and dates in the same way, press the key to enter the year adjustment. Although the year will not be displayed in use
It will affect the accuracy of the date, so it should also be adjusted to the correct year. After adjusting the year, press the key to save all settings and exit to positive
The normal state.
3. Set parameters
Press the key to enter the parameter settings. Ac:x indicates that the temperature error of the probe is relatively accurate, the positive number increases and the number decreases. Range:-5 to 5 degrees. dd:x, yes
The display item in the custom circular display state,(dd:0) time date temperature,(dd:1) time temperature. dF:x defines the display status in a loop
Indicates the switching interval of the project, which is optional from 1 to 9 seconds. LL:3, brightness adjustment. 1 The Darkest, 3 the brightest. AL:x, automatic brightness switch, when set
AL:1, electronic clock will change the brightness according to the intensity of ambient light. It will turn to level 1 brightness at night and turn to the brightness set in LL parameter during the day.
The degree value.
4. Switch the display status.
In the off-set state, press the. Up button to switch the items displayed in electronic clock. -. There are 4 states in total. Press the. Up button to switch in the following 4 states
Cyclic switching:
(1) time only (2) date only.
(3) temperature only (4) automatic cycle of time, date and temperature
Packing list:
Electronic clock x1
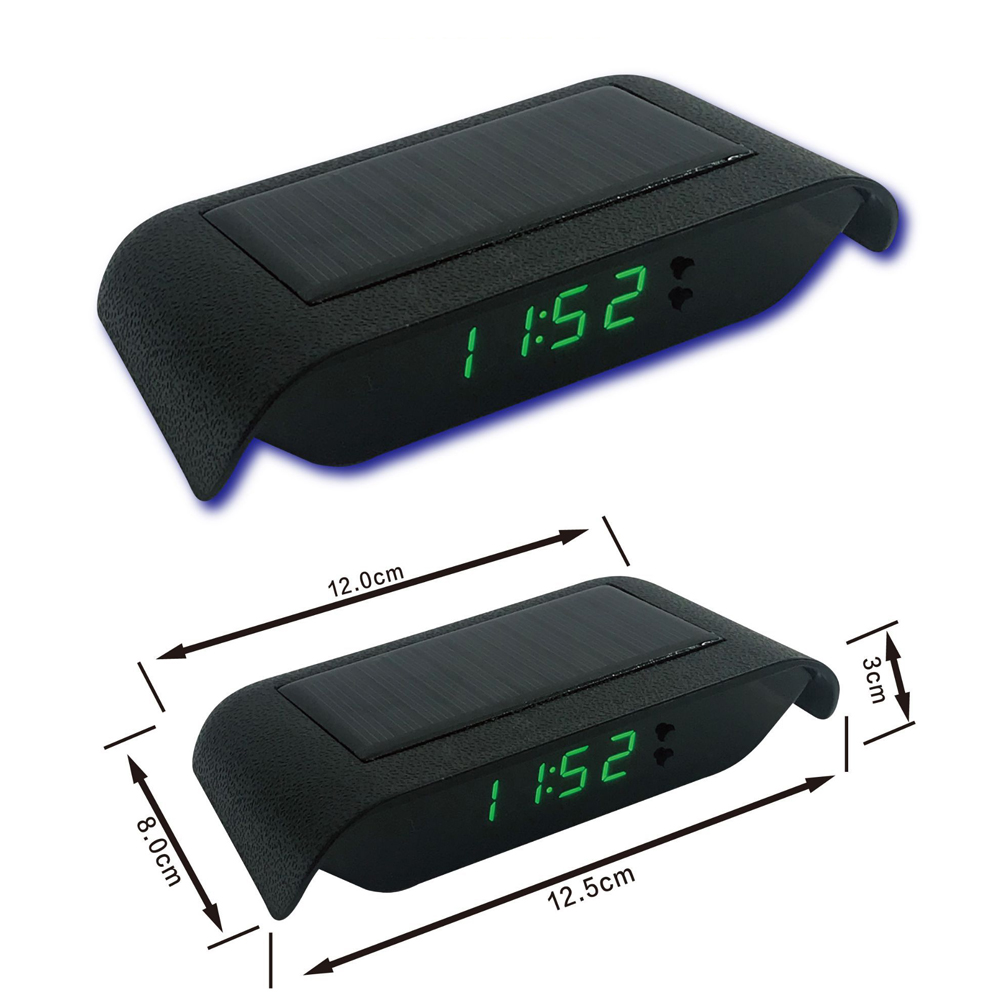
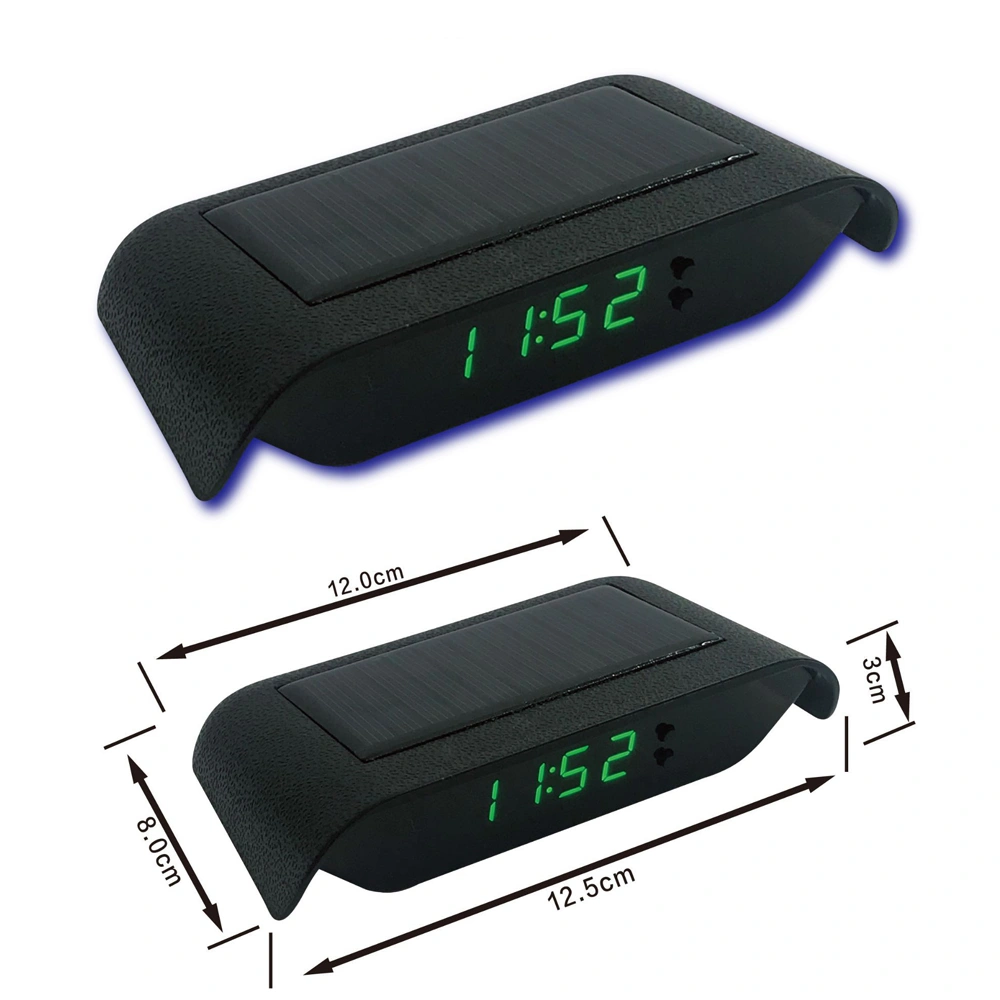
Product Image: